It’s nearly Christmas! We have a Christmas tradition of eating cinnamon rolls for breakfast. I 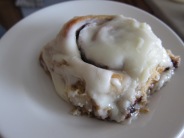 don’t think we’re the only ones with this tradition and since Christmas is quickly approaching, I wanted to share my favorite recipe and one that is made with mostly whole foods and is better for you than any other store bought roll and/or most other recipes out there. The actual roll part of this recipe is one I’ve come up with that is amazingly yummy, and soft and is made from whole white wheat flour and a little brown rice or spelt flour(or you could use a little white flour in place of the spelt/brown rice flour; for the small amount used in this recipe, I think it’s okay). I need to warn you though that the filling has brown sugar and the icing has powdered sugar; granted you can make powdered sugar yourself with evaporated cane juice if you’d like(do not use sucanat; it tastes funny as an icing), but I didn’t for this recipe. I used the refined stuff. Please, no unkind comments. I’m not an extremist and yes I think it’s fine to have a cinnamon roll on Christmas morning or on your birthday if you like. Heck, I even had pie on Thanksgiving! That being said, when you make your food from scratch, it’s going to be better for you than store bought stuff which has preservatives and other things added. And, you’ll know exactly what’s inside and you can healthify recipes to make them a little better for you, which I did for the bread in this recipe. I have tried making the filling with Sucanat or another unrefined cane sugar in place of brown sugar but it just does not work out. Really, it doesn’t. It changes the whole flavor of the cinnamon roll, and not really in a good way. So, if you or your family loves cinnamon rolls like we do and you want to healthify it some how, then make this recipe. At least then you’ll have incorporated a couple of excellent grains in there to help balance the blood sugar spike :). And yeah, you could use less brown sugar and butter, but then it’s not as ooey gooey and I love the ooey-gooeyness of these cinnamon rolls!
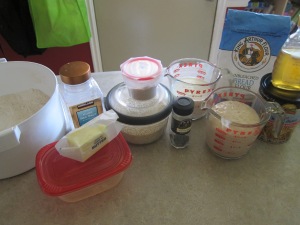
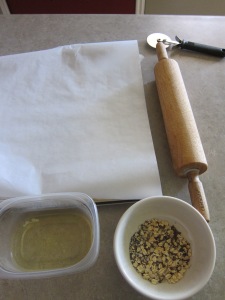
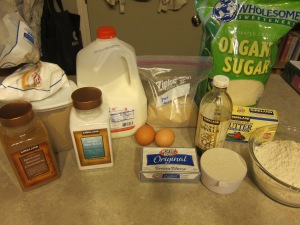
Here are your ingredients; basically typical bread making stuff like flours(white wheat and brown rice), yeast, evaporated cane juice (says ‘organic sugar’ on the bag; I’ve found that Costco sells it for the best price), milk, butter plus your filling and icing ingredients.
 You can definitely make this in a large mixing bowl and knead it by hand; I used to do that until I got my Bosch. If doing it by hand, put everything in your large mixing bowl that I put in my Bosch, and mix it with a spoon until the dough gets too thick to work with a spoon and then use your hands.
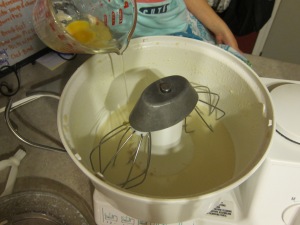
First thing you’ll want to do is warm up your milk, butter and sugar in a medium saucepan over medium to medium high heat. You want the temperature of the milk to be about 120 degrees F. If I’m doing it in the saucepan, I stick my candy thermometer inside and watch it. Add your warm milk mixture to your mixer and then add 3 cups of flour, salt, and eggs and yeast and mix to combine. I make all my yeast breads etc this way as it protects the yeast, putting it on top of everything else, in case the liquid is too hot. And no need to let it sit just yet. Now, the only time you would want to proof your yeast first is if you think your yeast might be so old that it has expired and won’t rise. I’ve never had that problem as I store most of my yeast in my freezer and the rest is in the fridge for immediate use.
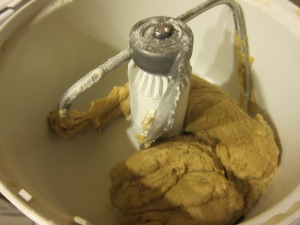
 Add the remaining flour, 1/2 cup at a time, until the dough pulls away from the sides of the bowl and cleans it and then stop adding. Do not add too much because the stickier the dough the lighter the roll so only add more if absolutely necessary. Allow the Bosch to mix for another 5 minutes. If you’re kneading by hand, shape the dough into a large ball and then knead for about ten minutes.
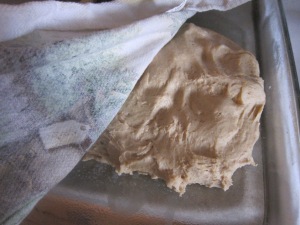
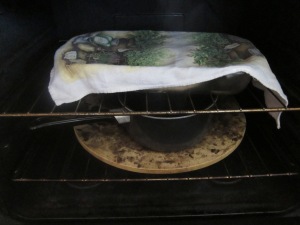
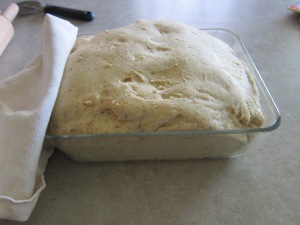
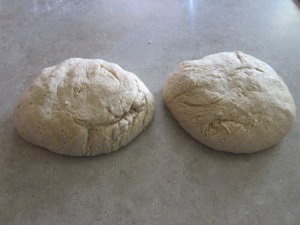
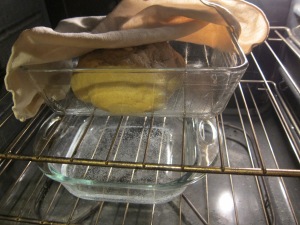
 Transfer dough to a large, greased bowl or 9×13 pan, cover and let rise in a warm place about 1 hour or until the dough has doubled in size(I like to speed this process by boiling water in a saucepan and then placing it in the oven with my bread, which I’ve covered, and shut the oven door; the warm, dark and humid oven will cut your rise time in half).
Roll the dough out on a lightly floured surface, until it is approx 21 inches long by 16 inches wide. It should be approx 1/4 thick. Preheat your oven to 400 degrees if you’re making cinnamon rolls for today(if doing overnight rolls, obviously wait on this part). Make your filling by whisking together the brown sugar and cinnamon in a small mixing bowl. Spread the softened butter over the surface of the dough, then sprinkle the brown sugar and cinnamon evenly over the surface.

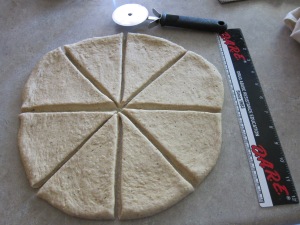
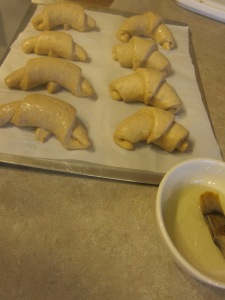
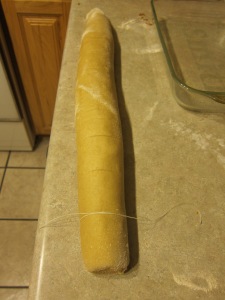
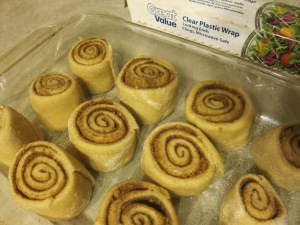
Working carefully, from the long edge, roll the dough down to the bottom edge. Cut the dough into 1 3/4 inch slices using dental floss( take the floss under the rolls, cross over the top and pull. You’ll get perfect cuts without smashing your pretty dough),
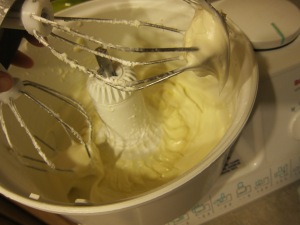
Place the cut rolls in a lightly greased baking pan(you should get about 12 rolls) and if you’re making them for today, cook for ten minutes or until golden brown(and watch the centers to see if doughy). No need to wait while they rise as they will rise while in the oven cooking! While they cook, combine your icing ingredients and cream together with a mixer until fluffy. Once done allow to cool for 5 minutes before adding the icing…if you can wait :)! If you’re making these for tomorrow morning (I’ll be making these Christmas Eve for Christmas morning!), cover them with saran wrap and stick them in your fridge over night. But don’t go to bed just yet.
 Combine your icing ingredients together as well and then cover that and stick it in the fridge so that you don’t have to do that in the morning when you’re still half asleep.
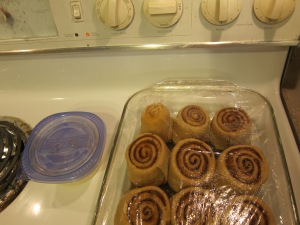
 In the morning, about an hour before you want to eat these, pull your cinnamon rolls and icing out of the fridge and stick them on your oven. I like to put my rolls on the burner that gets the warmest when my oven is on so it’ll help these babies rise faster. But don’t put your icing on that burner because it’ll get too hot and it may melt your tupperware container if that’s what you used to store it in. Then preheat your oven to 400 degrees and let them sit on top of that oven for about 30 minutes so they can warm up and rise a bit.
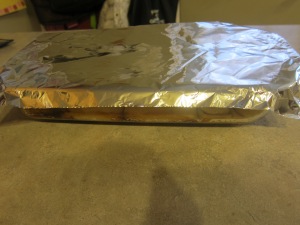
 After your 30 minutes are up, take off your plastic wrap and put them in the oven for about 15 minutes or until they’re golden brown, like I mentioned above and not too doughy in the middle. If they’re getting too brown on top but you feel like they still need a little more time in the oven, no worries, just cover it up with a piece of tin foil and stick it back in for 5 minutes or so.
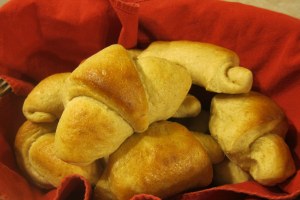
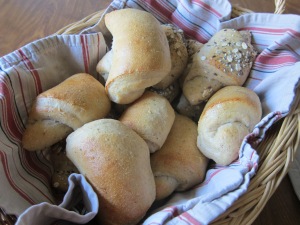
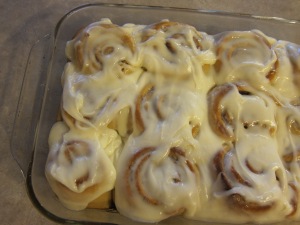
 They should look about like this:

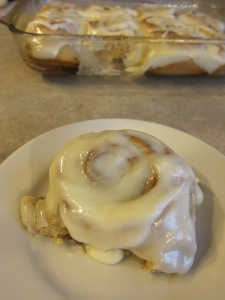
Then if you can wait about 5 minutes for them to cool before you add your icing then you’ll still have a nice spread on top, but they will still be warm enough that it’ll also melt down the sides. Oh, my. Heavenly.
 And you can totally double this recipe. Just remember you’ll need two 9×13 pans.
 All this writing and looking at pictures is sure making me hungry. It’s a good thing you can’t whip these up in 5 minutes; I would be making and eating them WAY too often if it were that easy.

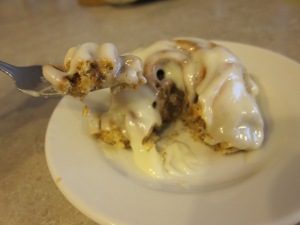
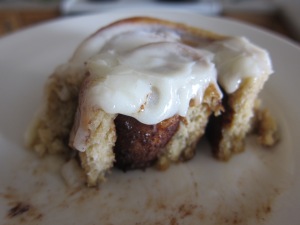
The center is my favorite part.
Cinnamon Rolls (w/optional overnight directions)
Ingredients
1(1/4 ounce)package yeast or 2 and 1/4 tsp
1 cup warm milk
1/2 cup evaporated cane juice (or other granulated sweetener like sucanat, coconut sugar etc)
1/3 cup butter, softened
1 teaspoon salt
2 organic eggs
3 cups hard white wheat flour
1 c spelt or brown rice flour (long or short grain rice doesn’t matter; you can also use white flour)
Filling
2/3 cup packed brown sugar
2 tablespoons cinnamon
1/3 cup butter, softened
Icing
1 stick (1/2c) butter
1/4 c (2 oz) cream cheese, softened
1/2 tsp vanilla
1 1/2 c powdered sugar
For the rolls, warm up your milk, butter and sugar in a medium saucepan over medium to medium high heat. You want the temperature of the milk to be about 120 degrees F. If I’m doing it in the saucepan, I stick my candy thermometer inside and watch it. Add your warm milk mixture to your mixer and then add 3 cups of flour, salt, and eggs and yeast and mix to combine. I make all my yeast breads etc this way as it protects the yeast, putting it on top of everything else, in case the liquid is too hot. And no need to let it sit just yet. Now, the only time you would want to proof your yeast first is if you think your yeast might be so old that it has expired and won’t rise. I’ve never had that problem as I store most of my yeast in my freezer and the rest is in the fridge for immediate use.
Add the remaining flour, 1/2 cup at a time, until the dough pulls away from the sides of the bowl and cleans it and then stop adding. Do not add too much because the stickier the dough the lighter the roll so only add more if absolutely necessary. Allow the Bosch to mix for another 5 minutes. If you’re kneading by hand, shape the dough into a large ball and then knead for about ten minutes.
Transfer dough to a large, greased bowl or 9×13 pan, cover and let rise in a warm place about 1 hour or until the dough has doubled in size(I like to speed this process by boiling water in a saucepan and then placing it in the oven with my bread, which I’ve covered, and shut the oven door; the warm, dark and humid oven will cut your rise time in half).
Roll the dough out on a lightly floured surface, until it is approx 21 inches long by 16 inches wide. It should be approx 1/4 thick. Preheat oven to 400 degrees if making cinnamon rolls for today(if doing overnight rolls, obviously wait on this part). To make filling, combine the brown sugar and cinnamon in a bowl. Spread the softened butter over the surface of the dough, then sprinkle the brown sugar and cinnamon evenly over the surface. Working carefully, from the long edge, roll the dough down to the bottom edge. Cut the dough into 1 3/4 inch slices using dental floss( take the floss under the rolls, cross over the top and pull. You’ll get perfect cuts without smashing your pretty dough), and place in a lightly greased baking pan. You should get about 12 rolls(If you’re doing overnight cinnamon rolls, at this point go down and read the ‘overnight instructions’)
Bake for 15 minutes or until light golden brown. While the rolls are baking combine the icing ingredients. Beat well with an electric mixer until fluffy. When the rolls are done, spread generously with icing.
Overnight instructions: Once you’ve sliced your cinnamon rolls and placed them on a baking sheet, cover your cinnamon rolls with saran wrap and place in fridge overnight. Cream together your icing, cover and also stick in fridge over night. In the morning, pull cinnamon rolls and icing out of fridge and set on top of oven to rise. Preheat oven to 400 degrees(the warmth from the oven will help these rise faster). Allow cinnamon rolls to sit for about 30 minutes. Place in oven and bake for 15 minutes until golden brown. These are amazing any way you eat them, but best served warm(leftovers are amazing as well! I like to pop mine in the microwave for 10-15 seconds).

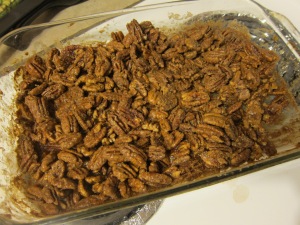
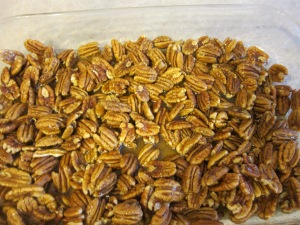 30 minutes:
 You want to cook them until there is no more liquid. Once they’ve cooked about 45 minutes(or after 3, 15 minute increments when you take them out and stir, possibly after 2, depending on your oven) there will be just a little bit of liquid in the bottom of the pan and you’ll see some of the maple syrup will have crystallized around the edges of the pan.
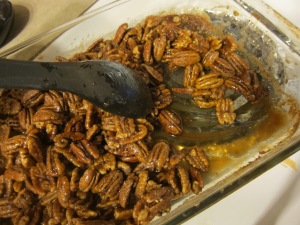 At that point all they’ll need is another 5 or so more minutes and stir(and maybe scrape) and check again; basically you want the syrup to crystallize on the pan and on the nuts and no longer liquidy. You’ll want to watch carefully at this point as things can turn bad quickly. You’ll even be able to smell that they’re about done! Once they’ve crystallized, they’re done so pull them out and let them cool in the pan; they’ll harden more as they cool. And that’s it!
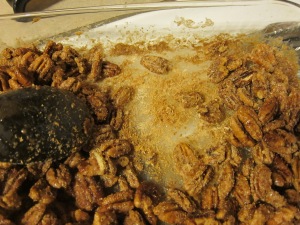
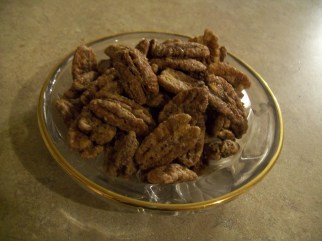
 I always make these near Christmas to have around as a snack. You can save some in a tupperware and then throw them on salads to make them a little more festive and yummy! These will keep well for at least a couple of weeks, maybe longer, they’ve just never lasted that long in our house.
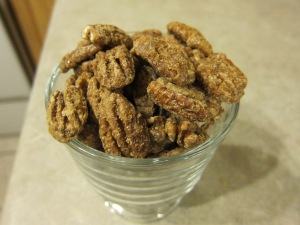 THE RECIPE: